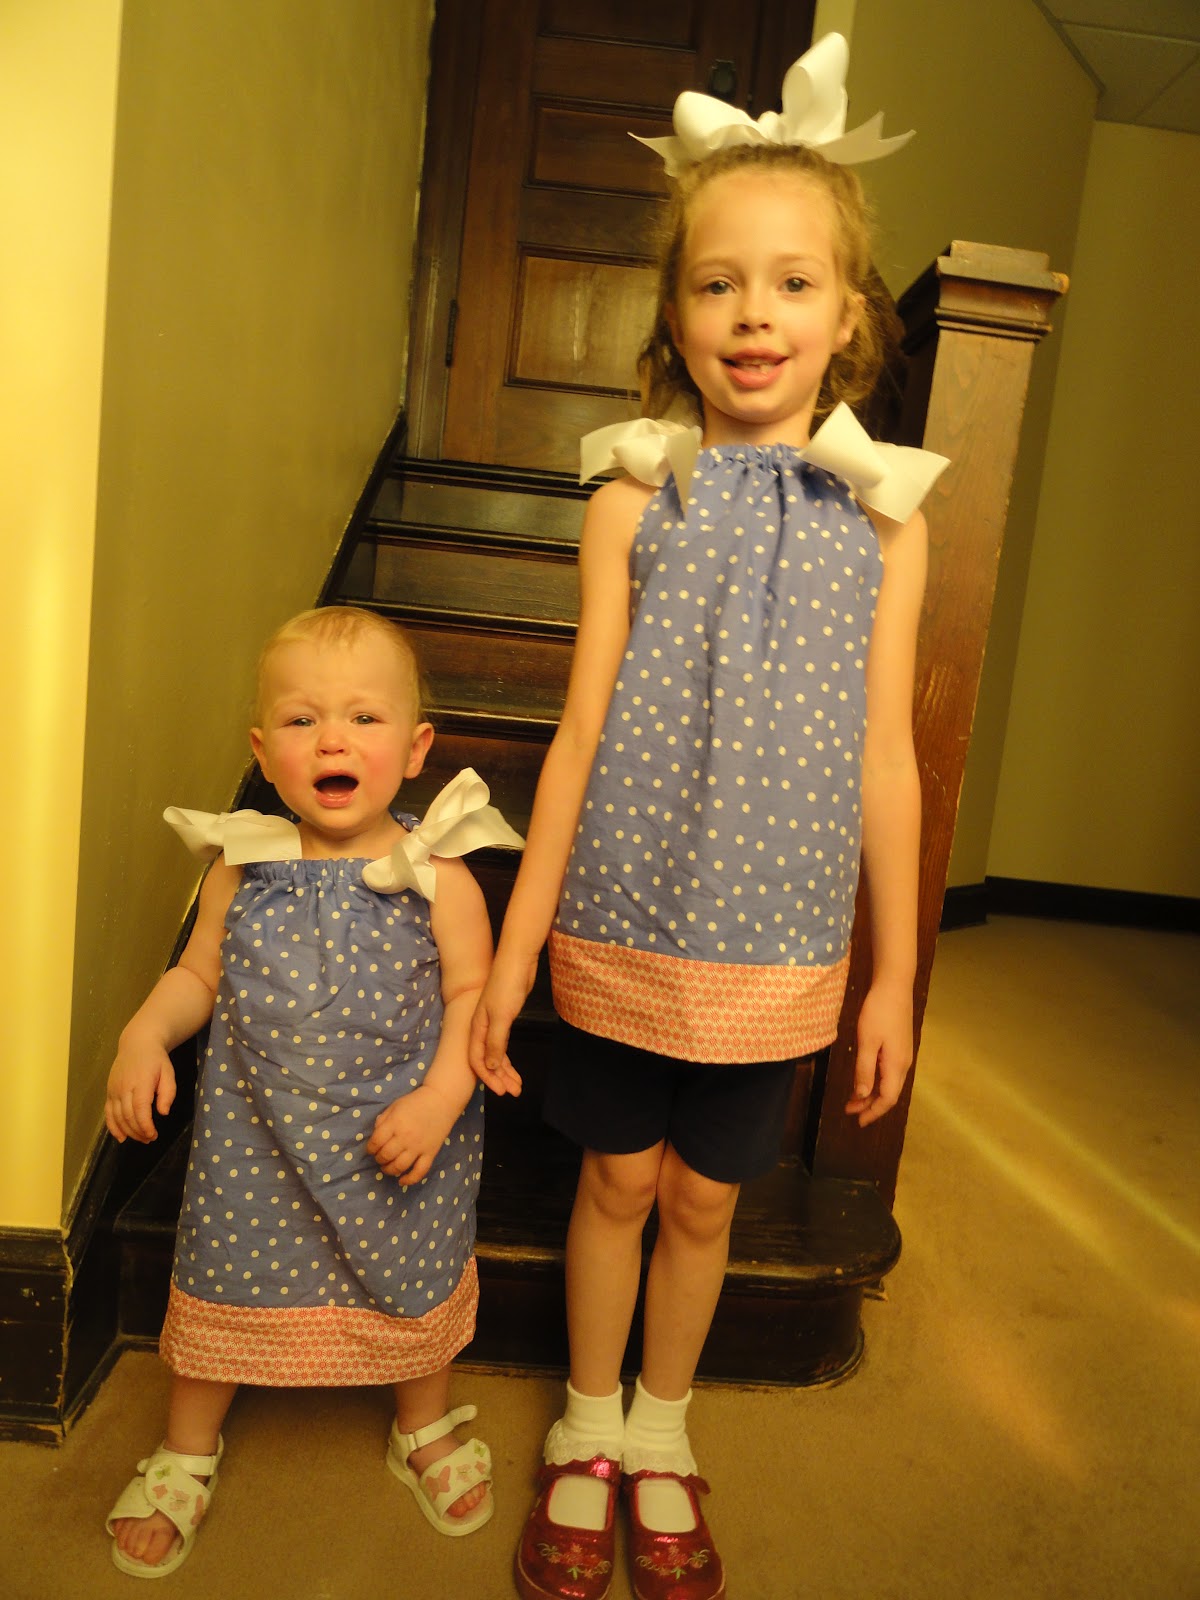
(Sunshine wasn't too sunny at the moment, lol!)
I've always been told to wash and dry all fabric before sewing...and so I did. When I took the fabric quarters out of the washing machine, however, they were unraveling something fierce! I untangled and cut as much as I could, then hoped for the best as I put them in the dryer. (Which didn't seem to cause further harm.) I'm not sure if I should have used pinking shears on them first, or what, but they survived without too much material lost. I'll definitely have to figure out what to do before my next attempt.
I did the "J" cut for the armholes as suggested on several sites I studied. For Sweet Pea, I measured down
5 1/2" and over 2", and for Sunshine, I measured down 4" and over 2". Sweet Pea's shirt was the first one I made, so I learned a lot and Sunshine's was much easier. I used pinking shears around the entire outline, but didn't use it around the armhole cuts after they were made on Sweet Pea's, then tried to trim it after it was already stitched~not easy. I also did not use the pinking shears on the coordinating trim on Sweet Pea's shirt, another lesson learned before I attempted Sunshine's.


For each dress, I did a 1/4" stitch around the entire dress form, front and back pieces, before I did anything else. I don't have a surge machine, so I figured this would help reinforce and hold everything together a little better.
I attempted to do the trim around the armhole, as instructed in the above mentioned tutorial, but was very confused, so I just left that part out. I am just going to see how it holds up with just the basic 1/4" hem. Next time, I will either figure out how to cut a better piece from the bias and use it, or buy bias tape.
I never could get the bottom trim to line up equally on both seams, either. One side would be even, but the other would be off by 1/4" to 1/2". But, I'll figure that out one day.

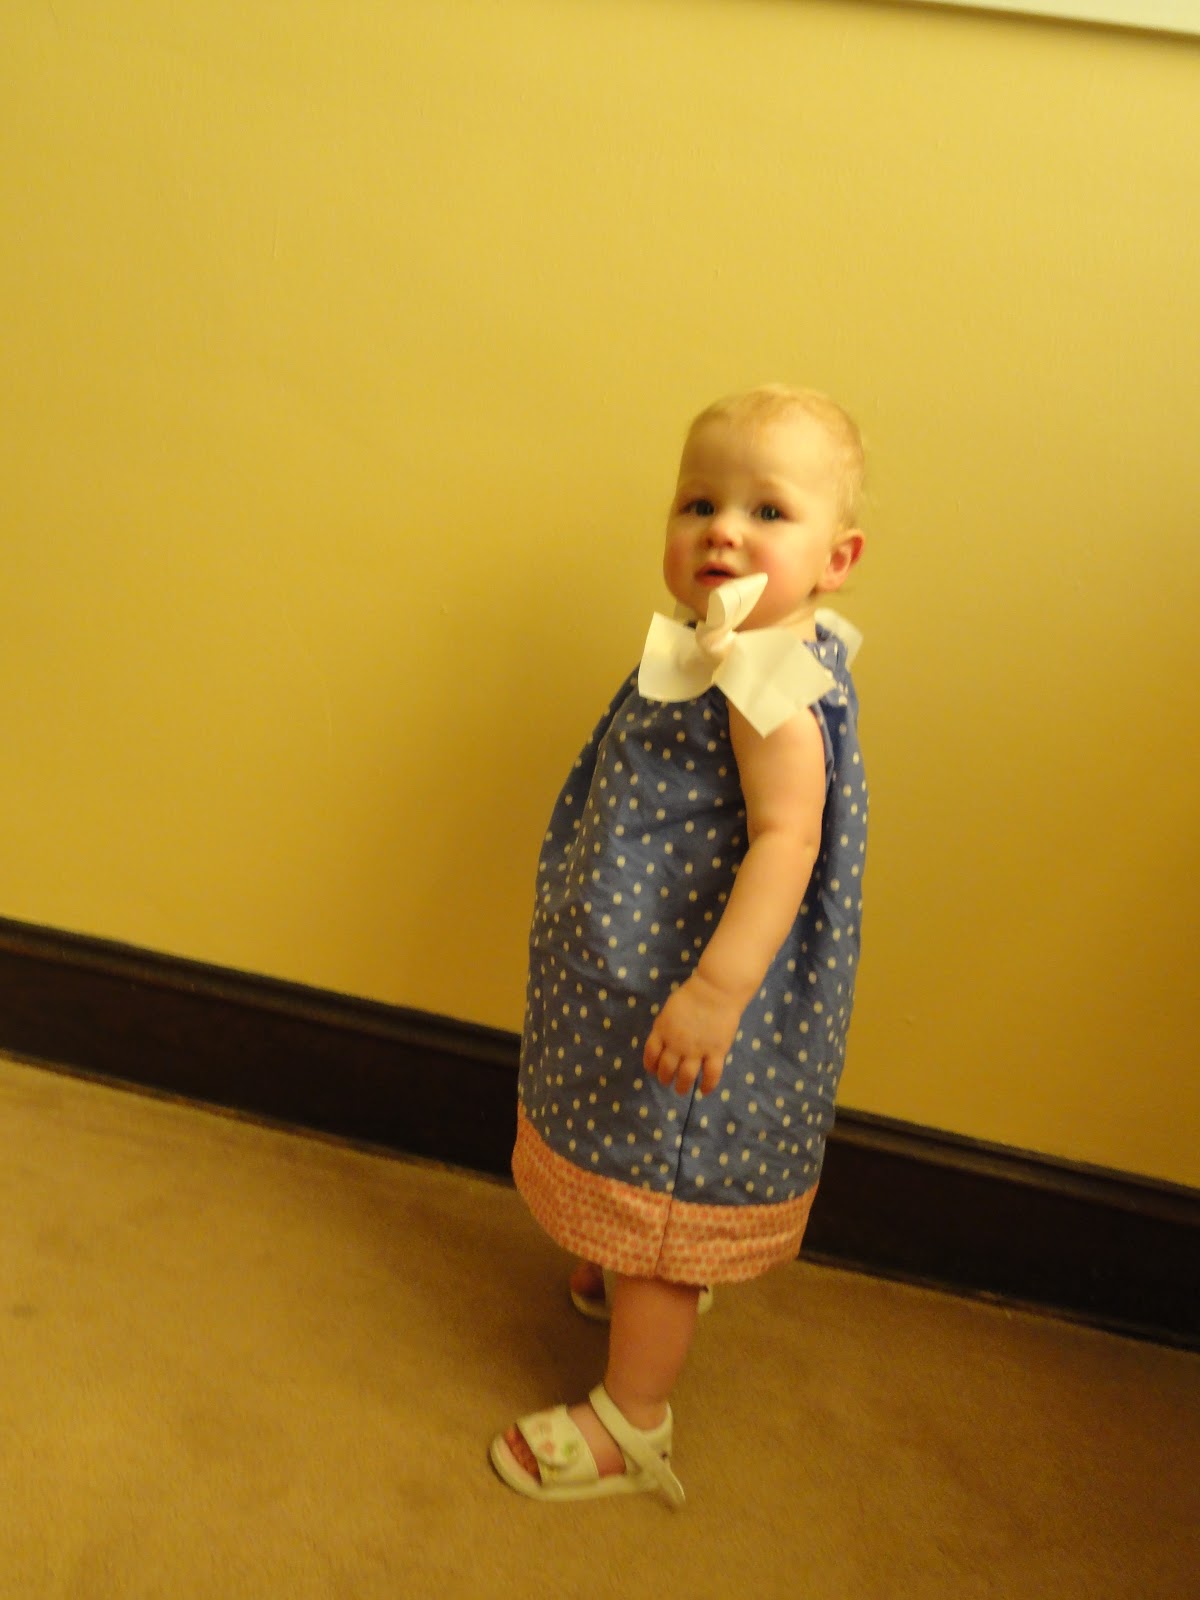
I am quite pleased, though, with my first ever attempt at sewing something to actually wear. I made these in time to wear to the 4th of July picnic at church, where the pics were made. My Sweet Pea is very happy with her momma's creation, and that makes it all worth while. And Sunshine, she likes having an outfit just like her big sister.


God bless!!
No comments:
Post a Comment